Zibo City, Shandong Province
Have You Any Quires ?
10 PM – 6 PM
Zibo City, Shandong Province
Have You Any Quires ?
10 PM – 6 PM

Have You Any Quires ?
Ever wondered what makes one box different from another? Or why some packages feel sturdy while others are flimsy? Choosing the right packaging is a big deal, and knowing your materials and styles is the first step to making smart buying decisions. This guide breaks down the most common packaging materials and styles, making it easy to understand what your options are and why they matter.
Why is this article your must-read? Because navigating the world of packaging can feel overwhelming! This guide simplifies things, giving you the essential knowledge to confidently discuss your needs with suppliers and choose packaging that perfectly fits your products and budget. Think of it as your cheat sheet to becoming a packaging pro!
When you think about packaging, what comes to mind? A cardboard carton? Maybe a shiny gift box? The truth is, there’s a whole universe of packaging materials out there, each with its own strengths and best uses. Let’s explore some of the most common ones:
We often see cartons, sometimes called cardboard boxes, used for shipping all sorts of things. Then there are inner cartons, which are smaller boxes inside the main carton for extra protection. Think about those flat pieces of cardboard inside a box – those are called partitions or flat cards, helping to keep things separate and safe. You might also find special inserts like egg cartons (not just for eggs!) to hold individual items securely. For a simple and plain look, there’s the white box. And for something fancier, there’s the gift box or color box, often used for retail products.
Sometimes you need extra protection, and that’s where materials like bubble wrap bags, PE bags, PP bags, and OPP bags come in handy. These are different types of plastic bags, each with slightly different properties. You might also encounter blisters or plastic trays, often paired with a blister card – that’s the cardboard piece the plastic is attached to. For cushioning fragile items, there’s foam, sometimes called Polylon, and pearl cotton, which looks like soft, white foam. Don’t forget the little things like strapping, those plastic bands that hold boxes together, and labels or stickers for branding and information. And if you’ve ever unfolded a piece of thin paper inside a package, that’s likely copy paper or separator paper, used to protect surfaces. Sometimes, you might even find a poster inside for promotions or instructions! Finally, there’s the all-important manual and post card that often accompanies products.
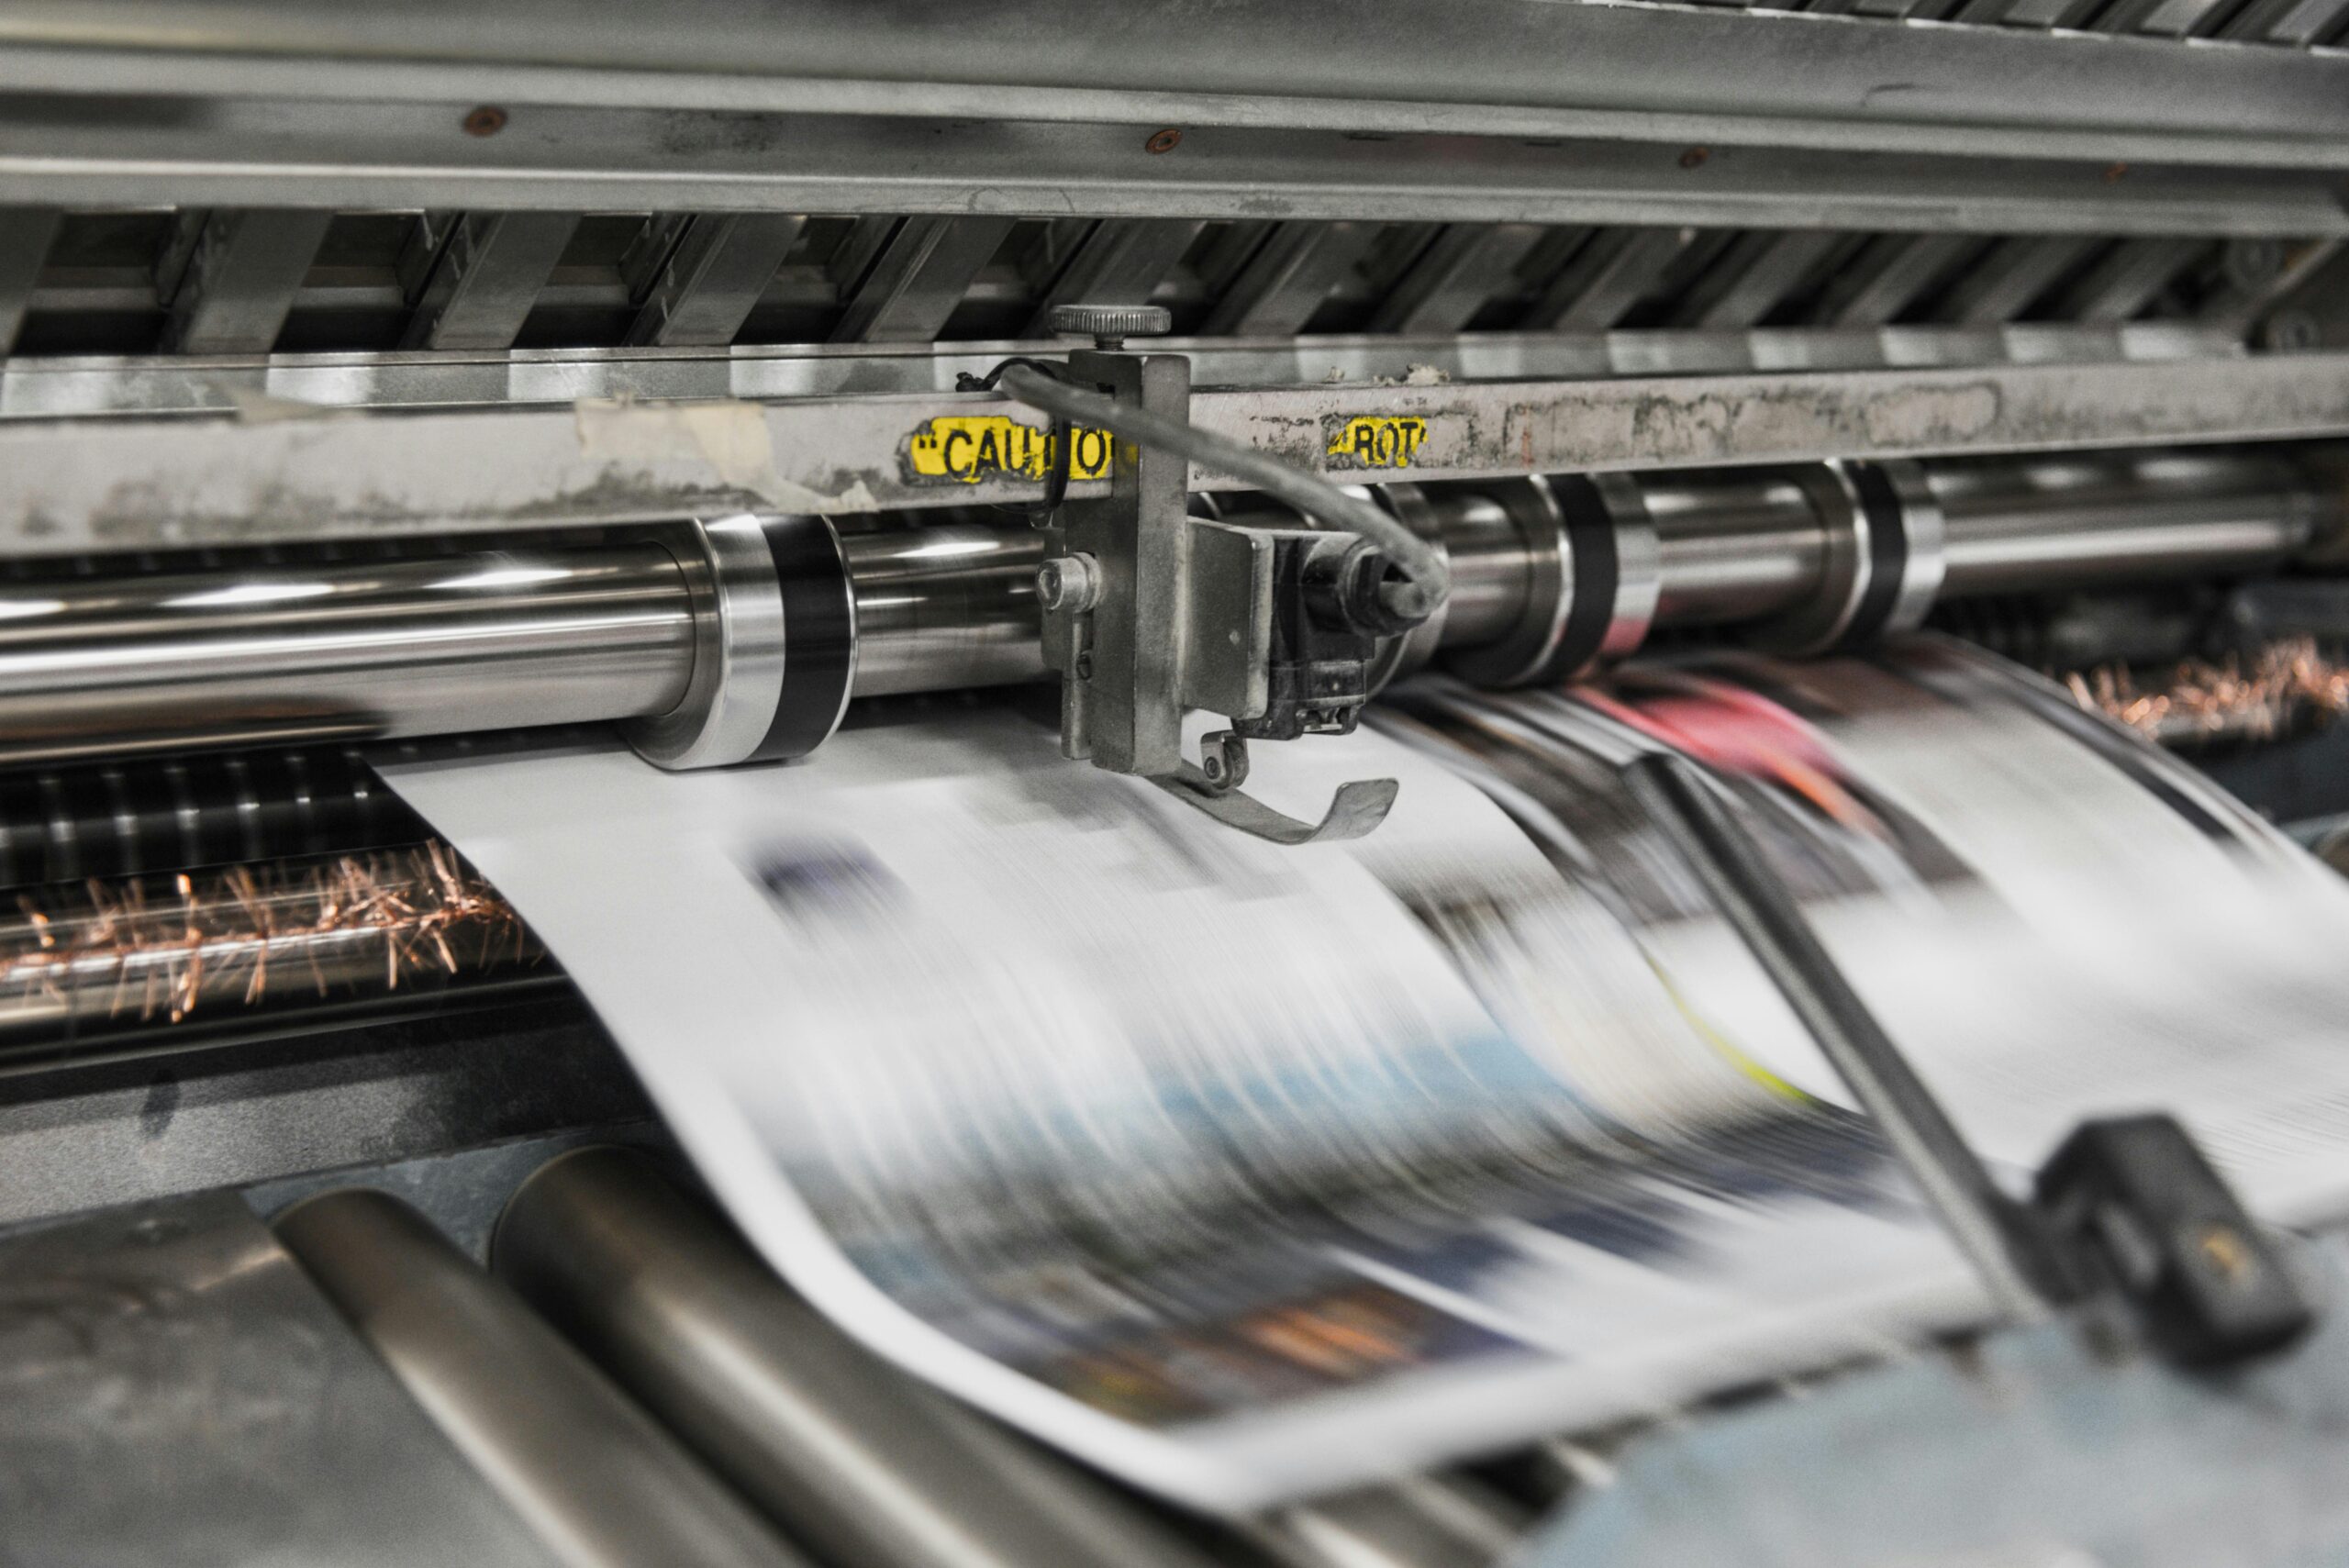
Ever looked at a carton and seen letters like ‘B=B’ or ‘A3B’ and wondered what they meant? These codes tell you about the quality and strength of the carton materials. Understanding this “carton paper quality” is crucial when packaging items that need extra protection during shipping.
The letters ‘K’, ‘A’, ‘B’, ‘C’, and ‘3’ indicate the quality of the paper used for the outer layers of the carton, with ‘K’ being the strongest and ‘3’ being less strong. So, a carton made with ‘K’ on the outside will be more durable than one made with ‘C’. The symbols between the letters tell you about the inner corrugated layers, also known as “fluting”. ‘9’ represents a thin fluting (about 2mm thick), ‘3’ represents a single layer (about 3mm thick), ‘=’ represents a double layer (about 6mm thick), and ‘≡’ represents a triple layer (about 9mm thick). For example, ‘B=B’ means the outer layers are B-grade paper with a double-layer corrugated inner, making the packaging about 6mm thick. An ‘A3B’ carton has an A-grade outer layer, a single-layer corrugated inner, and a B-grade inner layer, making it about 3mm thick. ‘W’ indicates white paper is used on the surface, giving a cleaner look. You might see options like ‘C33’, ‘B=3’, ‘B≡B’, ‘B9B’, and so on, each describing a different combination of outer and inner paper qualities.
So, now that you know what those codes mean, how do you decide which carton materials are right for your product? The best choice depends on how much protection your product needs and, of course, your budget. This “carton material selection” is a balancing act.
Generally, B=B is a common and cost-effective choice for general packaging. It’s about 6mm thick and provides a decent level of protection. If you need something a bit stronger, you might consider A=B. This material has a better strength than B=B but will be slightly more expensive. For the highest level of protection with a 6mm thickness, you could go for A=A, but this is usually reserved for items that need extra care and comes with a higher price tag. Unless there’s a specific requirement, you’ll likely find B=B to be a good middle ground for many packaging needs. Remember, a stronger carton means better protection against crushing and damage during transport.
Have you ever noticed those markings on the outside of cartons? That’s the “box mark” or “shipping mark”. You have a choice: plain cartons or cartons with printed markings. This “carton marking” decision can impact how your products are handled and identified.
If you choose to print a box mark on your cartons, you’ll need to provide the printing company with the necessary information to create a printing plate. It’s important to pay attention to the colors used in the box mark. Keep in mind that the color of the carton materials themselves, which is typically a dark brown, can affect how the printed colors appear. This means the printed color might not be an exact match to a specific PANTONE color. If your box mark needs to include information like the net weight, gross weight, or dimensions, make sure to provide this information to the supplier along with the carton dimensions when confirming the design. There’s also a specific way the Japanese often calculate the volume of a carton, known as “CBM” or “cubic meter equivalent,” which you might need to include. The formula is: (Length x Width x Height in mm) / (25.4^3 x 12^3).
Getting the size of your carton right is crucial. Too small, and your products won’t fit. Too big, and they’ll rattle around and could get damaged. This “carton size calculation” involves a bit of math, but it’s important to get it right.
First, you need to know the exact dimensions of your product – its length, width, and height (L x W x H). These are the “net dimensions.” To calculate the external dimensions of the carton, you need to add some extra space. A common formula is: Carton Length = Product Length + 13mm; Carton Width = Product Width + 13mm; Carton Height = Product Height + 18mm. This extra space allows for some cushioning and makes it easier to pack and unpack the products. If you’re using partitions inside the carton, you’ll need to account for the thickness of the partition when calculating the overall carton size. Also, consider if you’ll be including a poster inside the carton. You need to make sure the carton is big enough to accommodate it without bending. There’s usually a tolerance allowed for carton sizes, often around +5mm. While you might provide an ideal size, the factory will often work within a small range of that. It’s also a good practice to keep the weight of a packed carton under 20kg for easier handling. Finally, if your carton has a barcode printed on it, always test it with a barcode scanner before mass production to ensure it’s readable.
Sometimes, just one carton isn’t enough. That’s where inner cartons and flat cards come in. These “internal packaging” components play a vital role in protecting individual items within a larger shipment.
An inner carton is simply a smaller carton placed inside the main carton. The packaging materials used for inner cartons are often the same as the outer carton, like B=B, or a slightly lighter material like W9C. The choice depends on the level of protection needed for the individual items. Everything we discussed about outer cartons, like printing and size, applies to inner cartons as well. Flat cards, also known as partitions, are flat pieces of cardboard used to separate products within a carton. They’re commonly placed between layers of products or at the top and bottom of the carton to prevent items from rubbing against each other or the carton walls during shipping. A common and cost-effective material for flat cards is C33, which is about 3mm thick. The size of the flat card is usually the same as the internal dimensions of the carton. Typically, you’ll find one flat card at the top and one at the bottom of a carton. However, if you’re using inner cartons, you might not need flat cards. Sometimes, a single, stronger flat card, like one made from B=3, might be used folded along the shorter side of the carton.
Think egg cartons are just for eggs? Think again! These dividers, also known as “egg trays,” are a cost-effective way to separate and protect individual items within a carton. Their “divider packaging” capabilities extend far beyond the breakfast aisle.
The most common material for egg cartons is B3B, which is about 3mm thick. In some cases where extra strength is needed, B=B might be used, but this increases the cost. When manufacturing egg cartons, special cutting dies are used to create slots that interlock, holding the individual items securely. The depth of these slots is usually half the height of the divider itself. When determining the size of the egg carton, it should be slightly smaller than the internal dimensions of the carton, usually about 1.5mm smaller on each side. It’s important to make sure the edges of the dividers are strong enough to prevent damage during shipping.
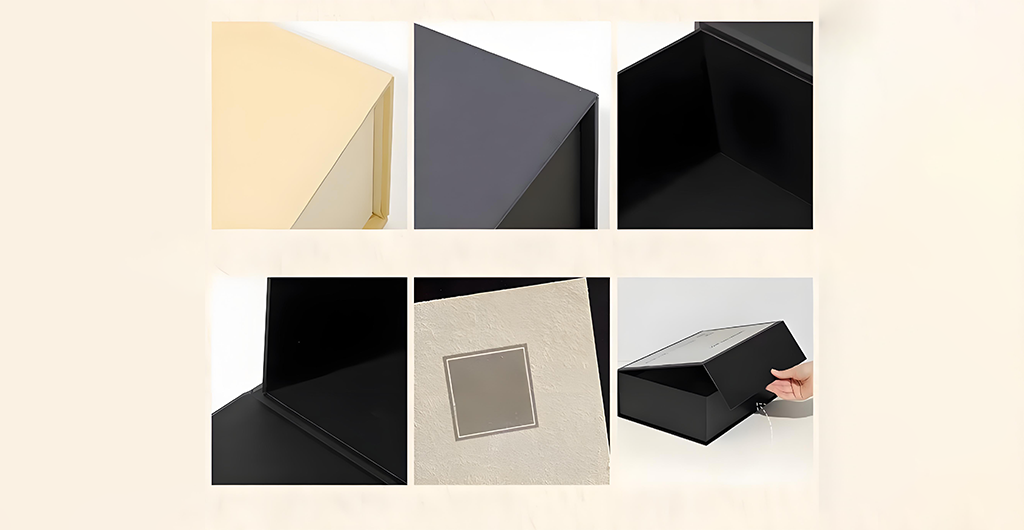
You’ll often hear about white boxes and color boxes (or gift boxes) in the world of packaging styles. What distinguishes these two common types of boxes? The main difference lies in their appearance and intended use.
A white box is a simple, unprinted box, usually made from W9C material, which is white paper about 2mm thick. Depending on the customer’s needs, a white box might have markings printed on the lid, or it might be completely plain. When printing markings on a white box, you need to pay attention to the colors and their placement. Many white boxes are designed with a tuck-in bottom for easy assembly, but some are designed similarly to shipping cartons, depending on the requirements. On the other hand, a color box or gift box is designed to be more visually appealing. There are two main types of color boxes: those with a window and those without. Windowed color boxes can be further divided into those with a plastic film covering the window and those without. The materials used for color boxes vary depending on the product’s size and shape. Common choices include coated cardboard (like powder gray paper) in various weights such as 280g, 300g, and 350g. You might also see options like 260g coated cardboard laminated onto E-flute corrugated board, providing extra strength. The key difference is the visual presentation – color boxes are designed to attract the eye and enhance the perceived value of the product inside.
Color boxes are all about visual appeal. Beyond the printed design, the “color box surface finishing” techniques and window options can significantly impact the final look and feel of the packaging.
After printing the design on the color box, several surface treatments can be applied. A common option is varnishing, which gives the surface a smooth feel without being sticky. Another option is gloss oil coating, which also makes the surface smooth but can feel slightly sticky to the touch. For added protection and a premium feel, a thin layer of plastic film (PP or PE) can be laminated onto the surface. The best choice often depends on the customer’s specific requirements, and it’s always a good idea to have the customer approve a sample before mass production. If the color box has a window, the window can be left open, or it can be covered with a clear plastic film. Common materials for these window films include transparent PP, PVC, and PET. PP and PET are considered more environmentally friendly options.
Beyond the main boxes, there are often other packaging materials that play important supporting roles. These extras, like posters, separator paper, and stickers, contribute to the overall presentation and protection of the product.
A poster, or promotional insert, is often included in the packaging to provide more information about the product or other related items. A common material for posters is 157g coated paper. Separator paper, often called copy paper or tissue paper, is a thin paper used to wrap individual items or layers of items within a carton or box. This prevents scratches and damage during transport. A standard size for separator paper is 1030mm x 590mm. Suppliers usually charge per sheet, and cutting it into smaller pieces doesn’t typically add extra cost. When designing your packaging, it’s a good idea to plan how the separator paper will be cut to maximize its use. Stickers or labels are used for branding, product information, or barcodes. When you receive the artwork for stickers, it’s important to create a sample for approval before mass production. Stickers can be made from various materials, including transparent PET film, PP, and PVC. Barcode stickers should always be tested with a barcode scanner before production. Printed stickers might have a glossy coating or a PP lamination for protection, and it’s important to match the colors as closely as possible to the approved sample. There are also different types of adhesive available for stickers, ranging from standard to extra-strong.
For retail products that need to be displayed prominently while remaining securely packaged, blister packs and blister cards are a popular choice. This “blister packaging” method offers both visibility and protection.
A blister is a clear plastic cavity that holds the product. Common materials for blisters include PVC, PP, and PET. When designing blister packs, avoid placing locking features on painted surfaces to prevent scratching. While white PET is a more environmentally friendly option, it’s also more expensive and usually only used for large orders. There are several types of blister packs, including clamshells, face seal blisters, and trap blisters. Clamshells open and close like a clamshell. Face seal blisters are sealed to a blister card. Trap blisters are similar but the blister card is folded over. Clamshell and face seal blisters often eliminate the need for a window on the color box. If your product is complex or has painted parts, you might consider adding a plastic insert or “tray” inside the blister for extra support. The thickness of the plastic used for blisters is usually measured in “#”, with 0.35mm being a common thickness. It’s generally best to avoid using colored plastic for blisters to keep costs down. For face seal and trap blisters, a blister card is used. For face seal blister cards, the blister card is inserted into grooves in the blister. It’s important to ensure a good fit between the blister and the blister card – not too tight and not too loose. The blister card surface is often varnished or laminated. For trap blisters, the blister card is heat-sealed to the blister. If the blister is made of PET, the blister card needs a special heat-seal coating (APET) to ensure a strong bond. Blister cards are typically made from coated cardboard. If only one side needs printing, powder gray paper is often used in weights like 300g, 350g, or 400g. If both sides need printing, a higher-quality coated cardboard is used.
While cardboard and plastic are common, the world of packaging materials and styles extends beyond these. Let’s touch upon some other options you might encounter.
Foam (Polylon) is a lightweight cushioning material often molded to fit the shape of a product. However, it’s important to note that Polylon is generally discouraged in Japan and Europe due to environmental concerns. Various types of plastic bags are used for packaging. Bubble wrap bags provide cushioning, while PE bags, PP bags, and OPP bags offer different levels of clarity and barrier properties. Plastic bags come in various styles, including flat bags, zip-lock bags, gusseted bags, and bags with handles or printed logos. When describing plastic bags, you’ll often see abbreviations like PE (polyethylene) or PP (polypropylene) followed by numbers indicating the bag’s dimensions (length x width x thickness in centimeters) and sometimes the quantity per pack.
By familiarizing yourself with these packaging materials and styles, you’ll be well-equipped to navigate the procurement process and select the best options for your products. Choosing the right packaging is an investment in protecting your products and enhancing your brand.
You can leave any questions. We will see and answer you.